Monday, January 27, 2014

Pressure Cooker Potato Quinoa Soup


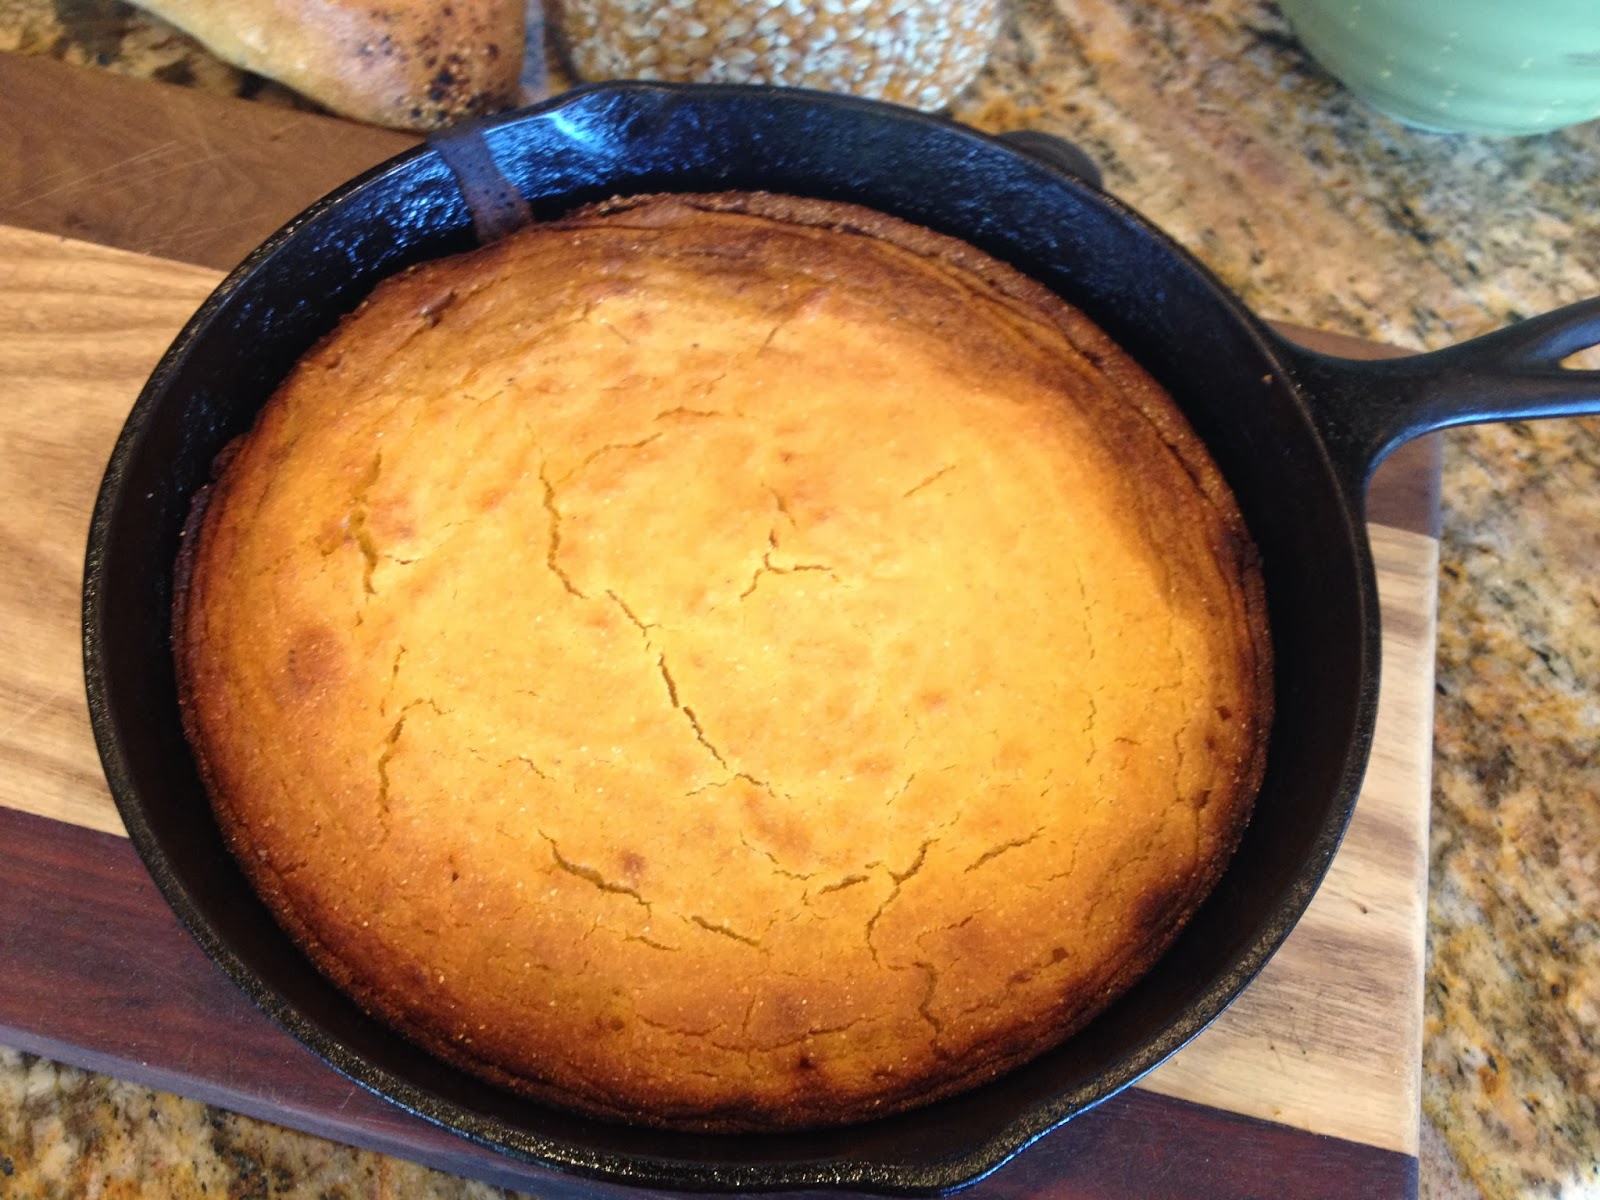
Quinoa Potato Soup with toasted 7 Grain Bread

     I love my pressure cooker and I love to make soups in the pressure cooker.  Making soups in the pressure cooker can be fast and easy and the soups taste great.  Pressure cooking  forces the flavors to expand and speeds up the process in making the meats tender and the grains ready to eat faster.  

   This is the first soup in my Pressure Cooker Soup Series for the winter.  I will share with you some of my favorite recipes in the Pressure Cooker and I will throw in some great bread recipes.  Soup and fresh baked bread can be a gourmet experience,  I think the ultimate experience in food can be as simple as fresh baked bread and a really good soup.  So join me and please if you don't have one yet order your pressure cooker.  You can order it at www.chefbrad.com.   


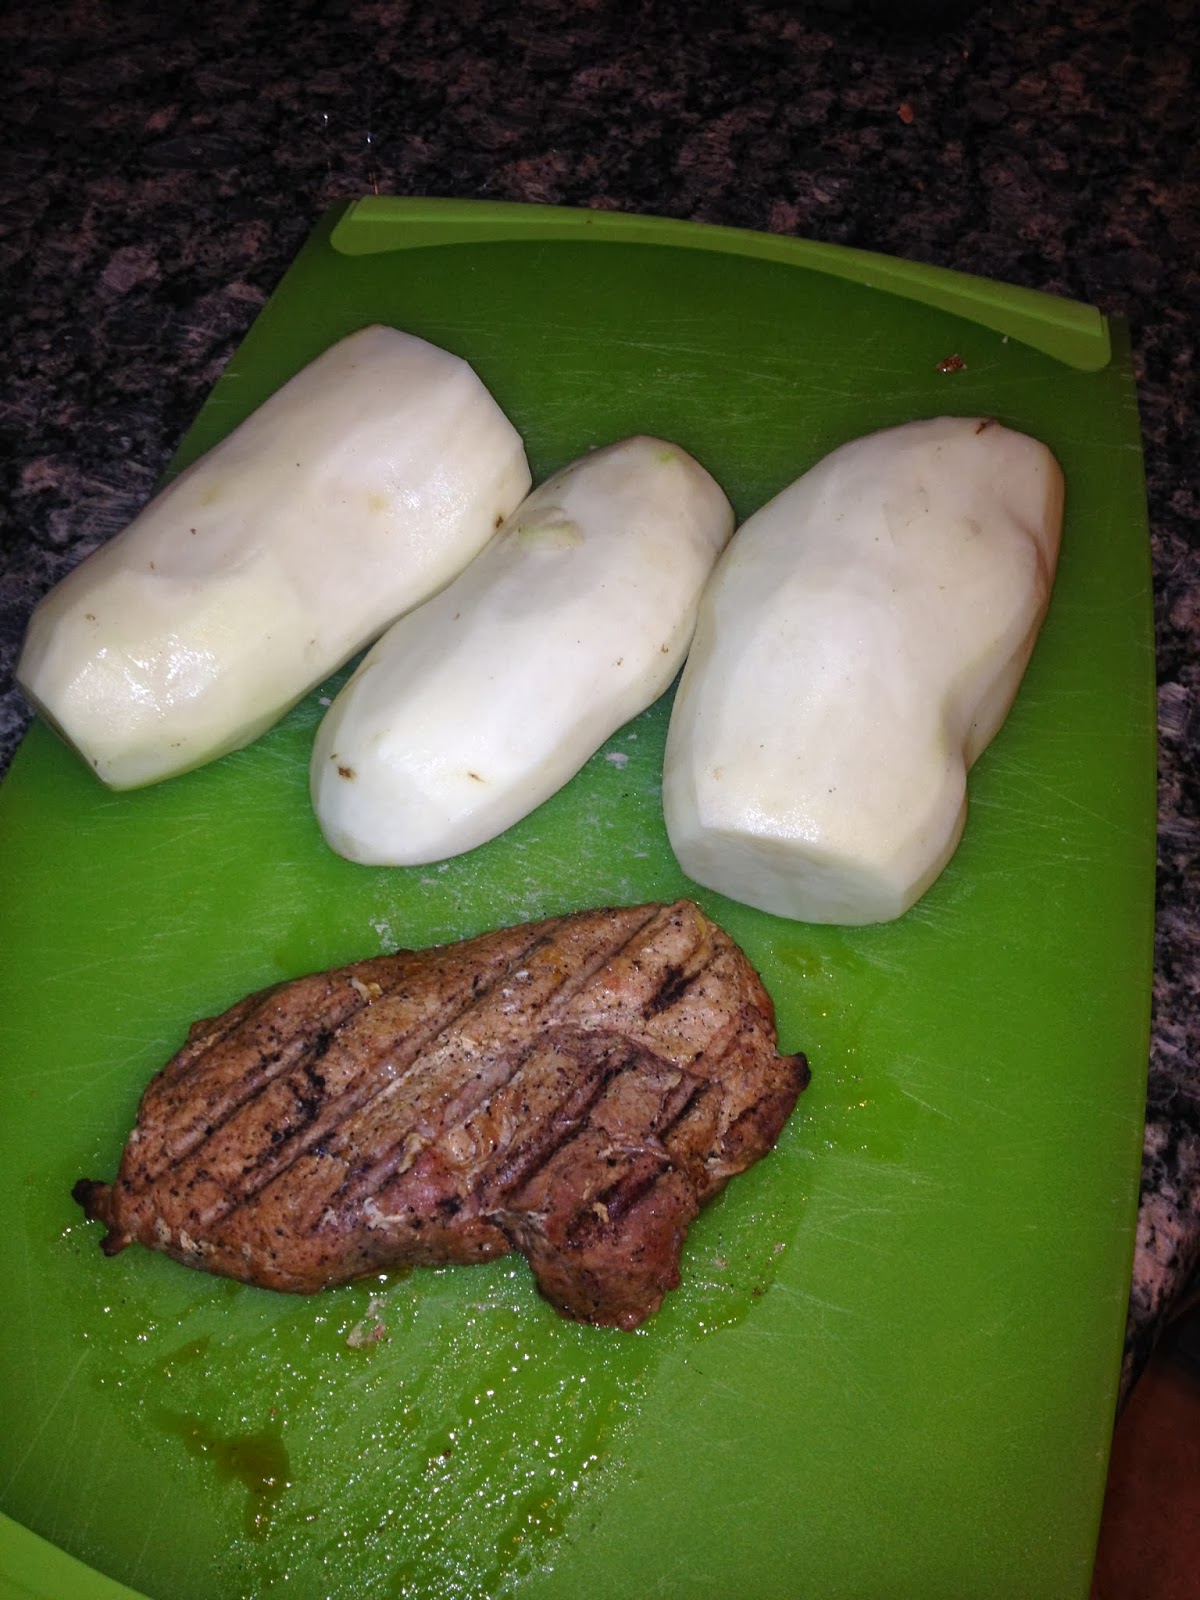
To make this soup you need some large potatoes.  Peeled and cleaned.  I have a large boneless pork chop that I smoked,  I chopped up small and added it to the soup.   I started with pork in the pressure cooker with some olive oil while I was starting working on the other ingredients.


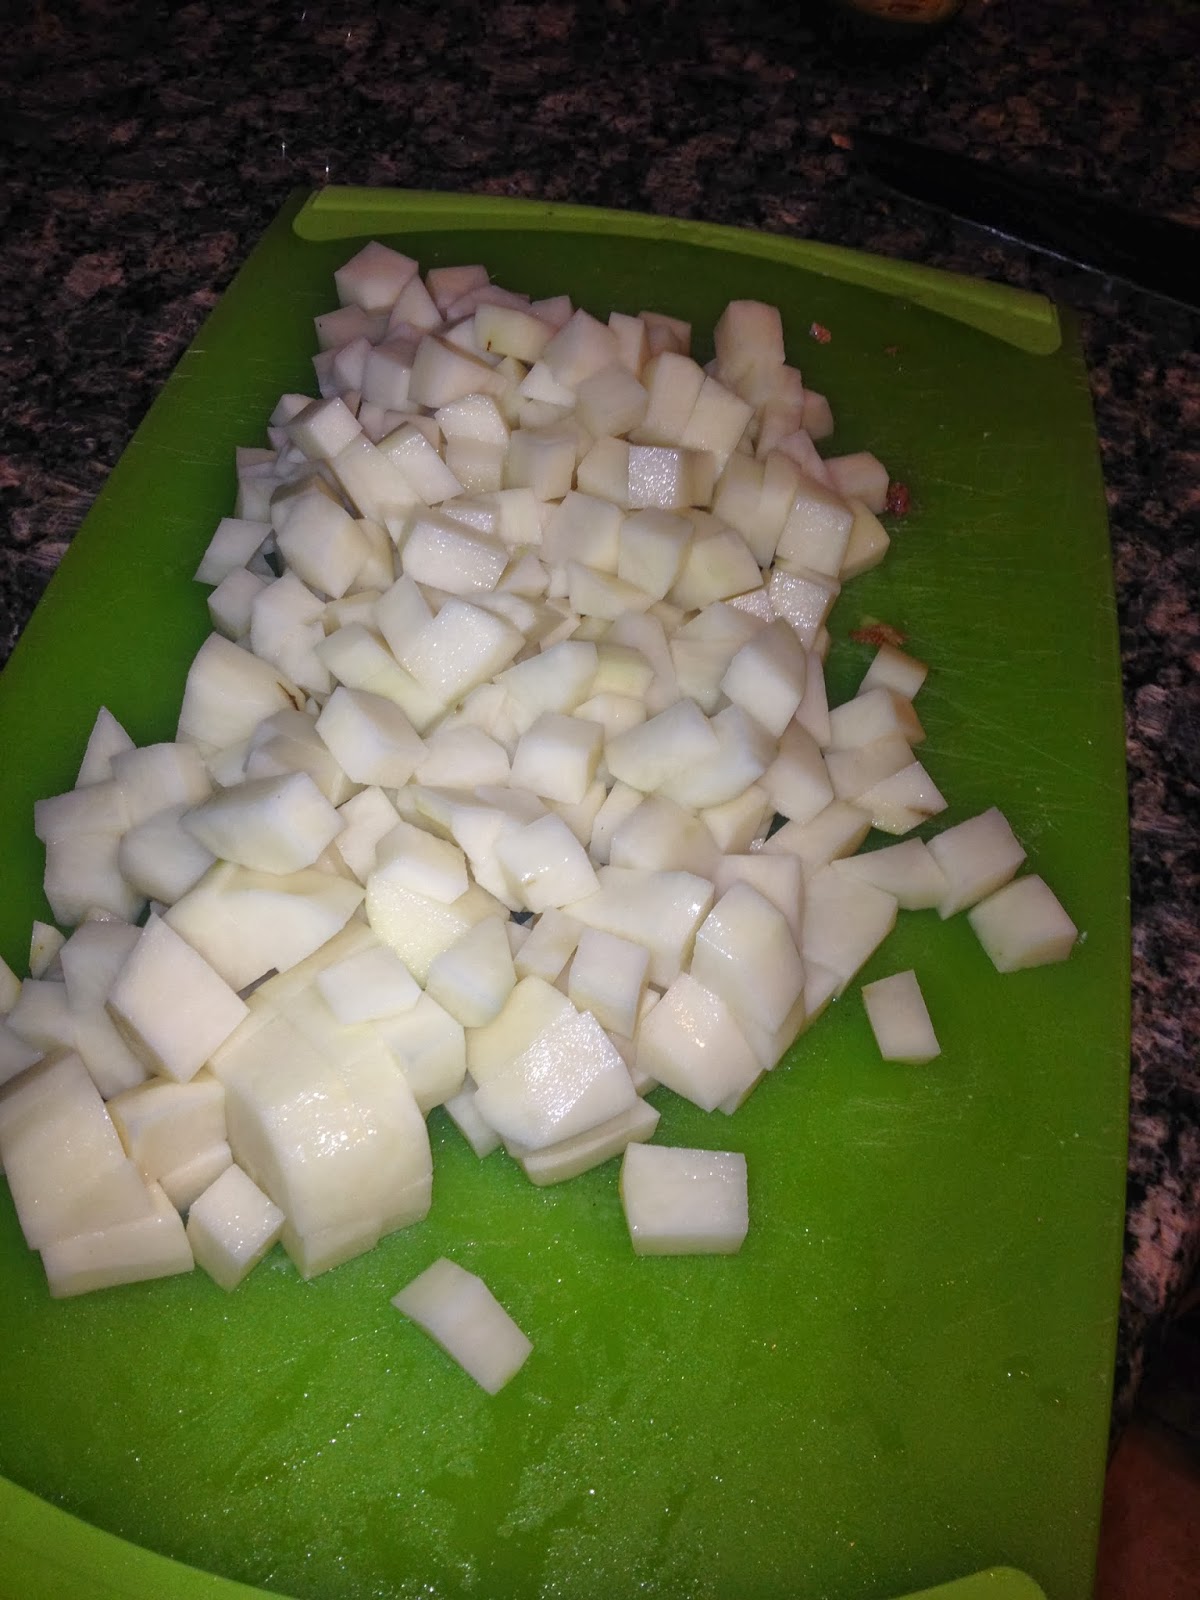
   Potatoes peeled, cut, and ready to cook.


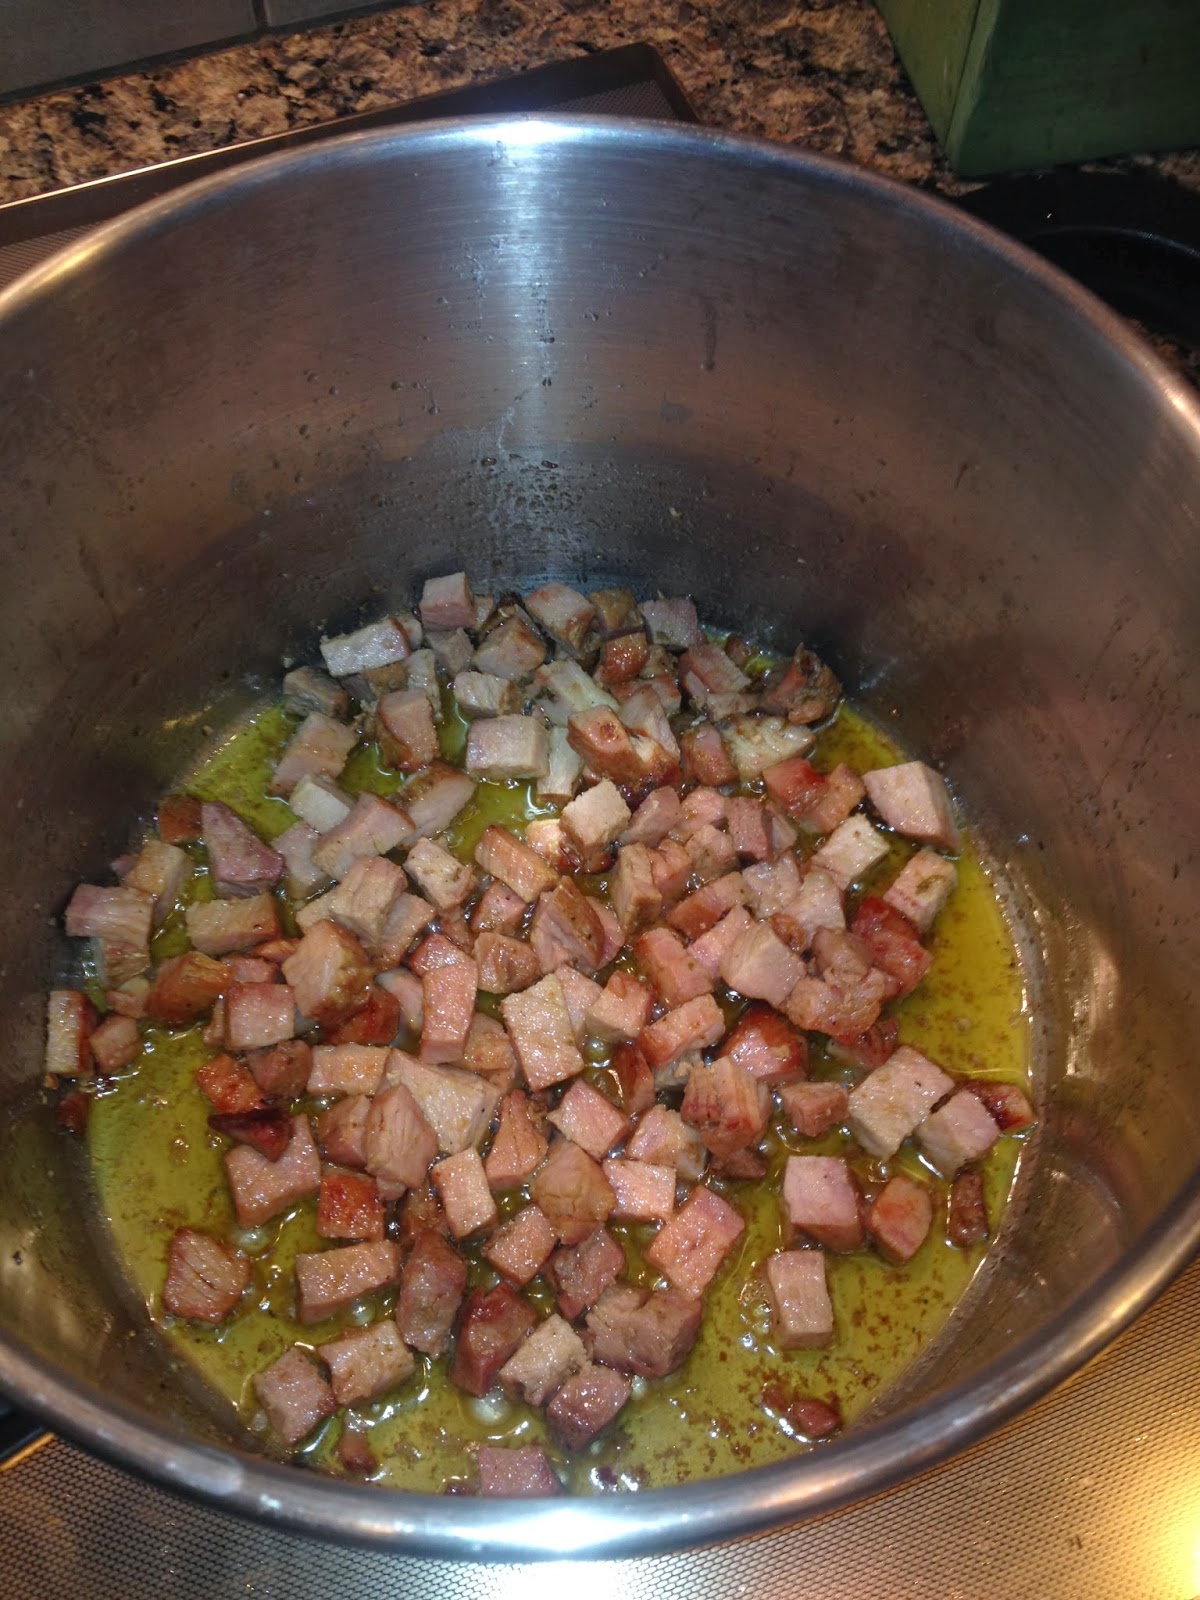
This is the pork in the pot with oil.   It was already smoked and just needed a couple of minutes cooking before I added the potatoes on top.  The pork was already cooked so it will work in six minutes with the potatoes.  Chicken breast would work also, but I would sauté them first and cut the chicken in small pieces.


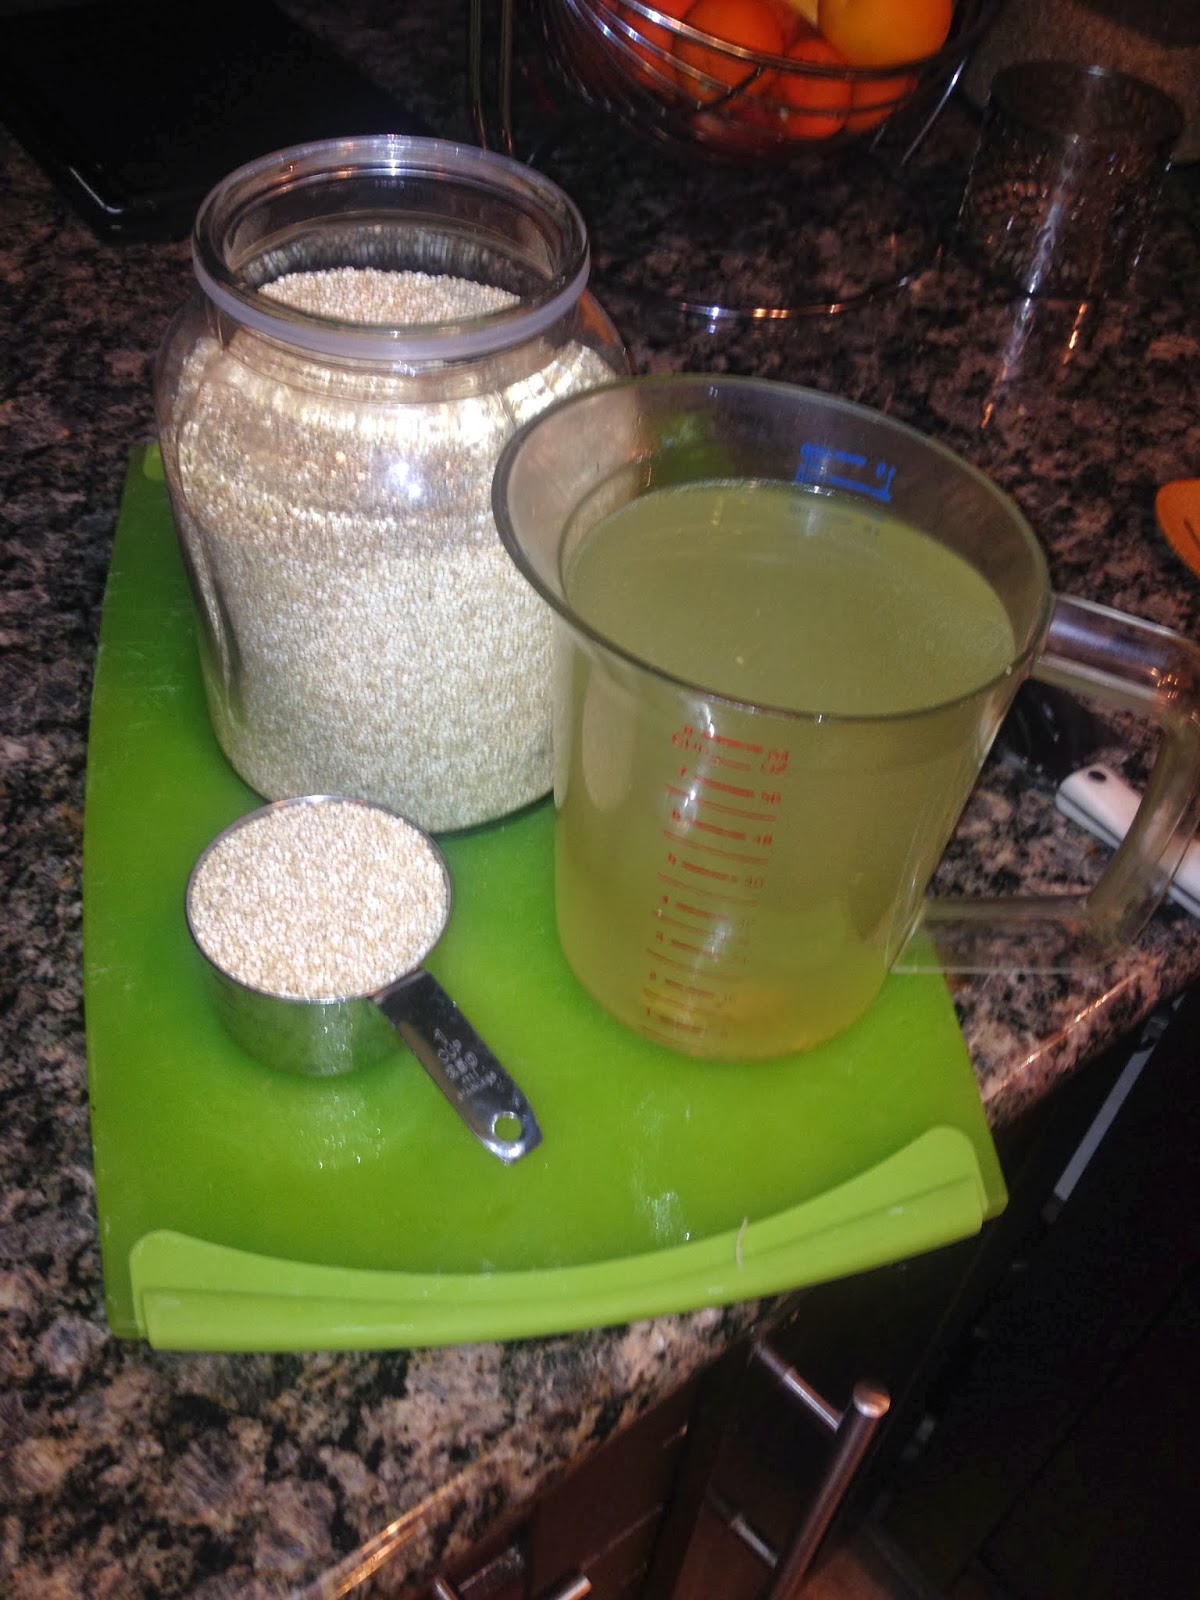
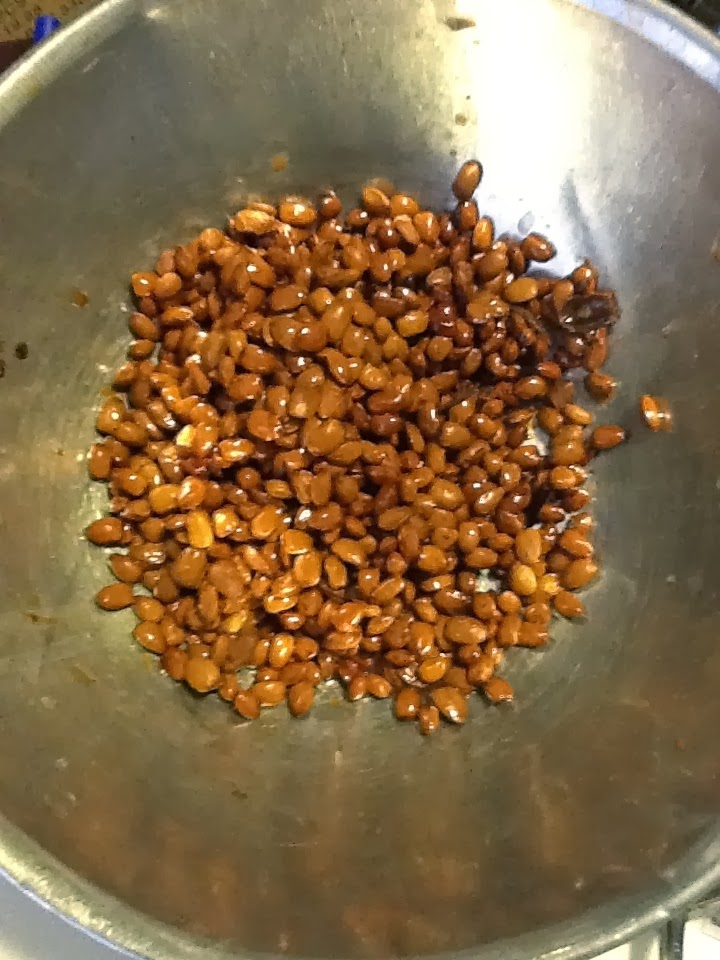
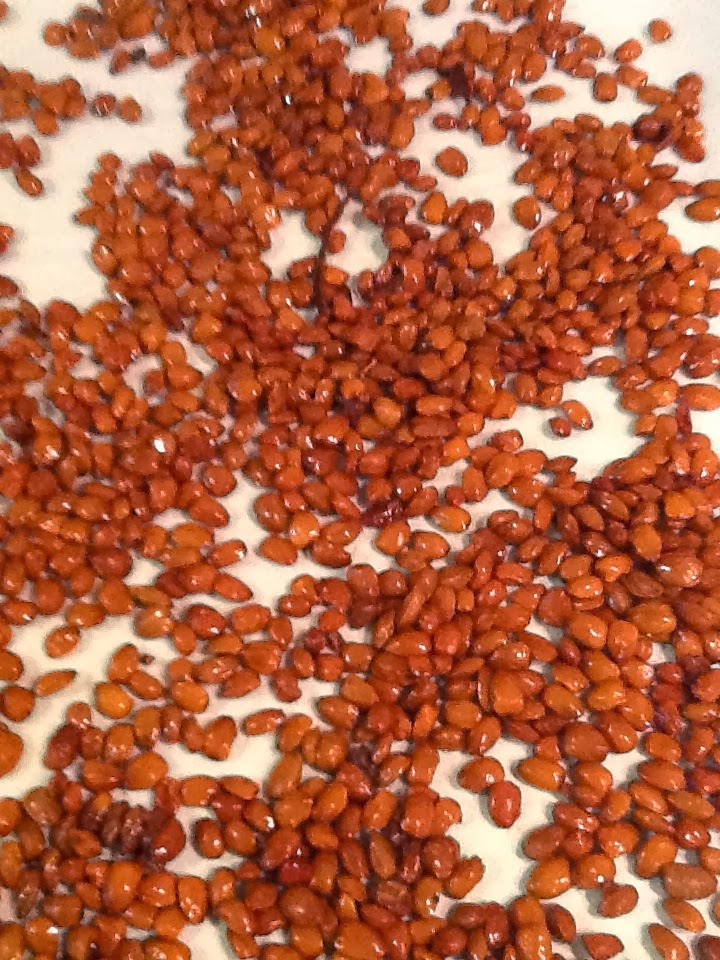
Next I added the quinoa and vegetable stock.  You can use red, white, or black quinoa.  The reason I use quinoa in this soup is that it takes six minutes to cook.  Just as long as the potatoes.  You can use another grain but it needs to be cooked first.  Another six minutes will not hurt a grain like cooked barley or kamut.


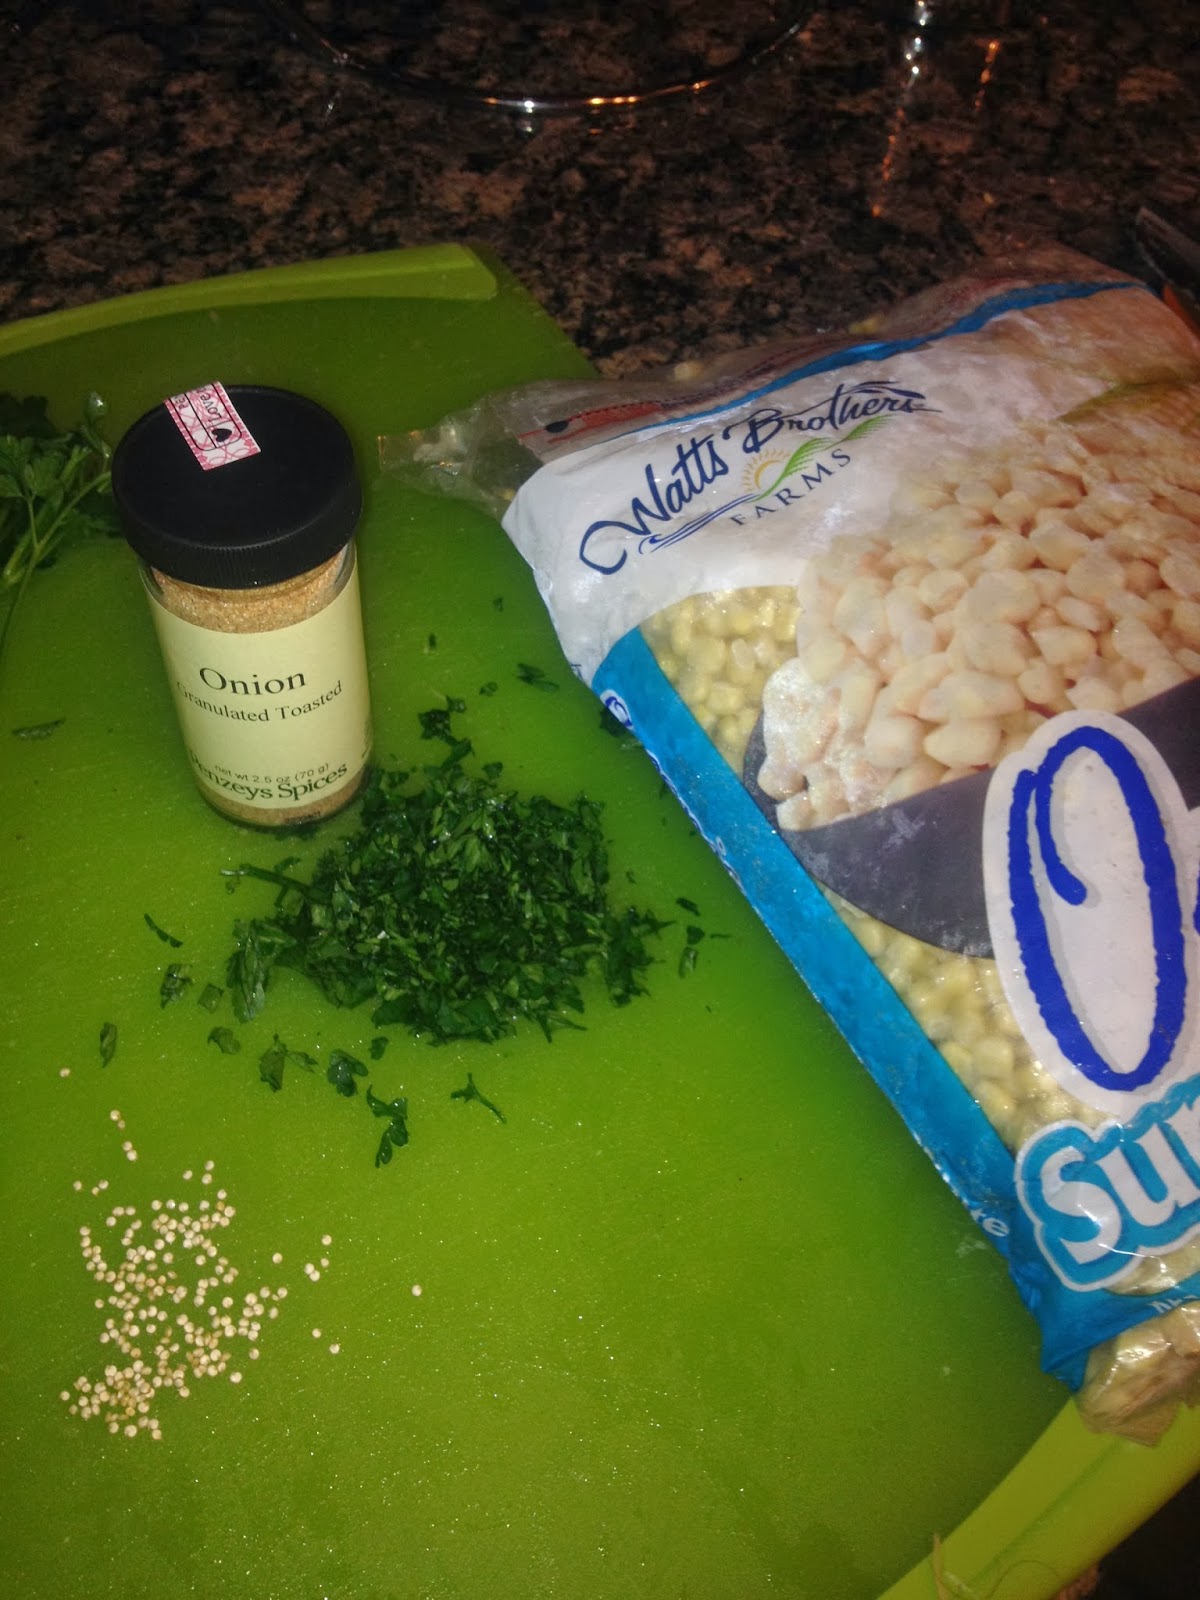
Next I added chopped parsley, frozen sweet corn and toasted onion powder.


   Salt and pepper.   Never under estimate the power of salt and pepper.  Salt is a natural flavor enhancement.  I use only Redmonds Natural Kosher Sea Salt.


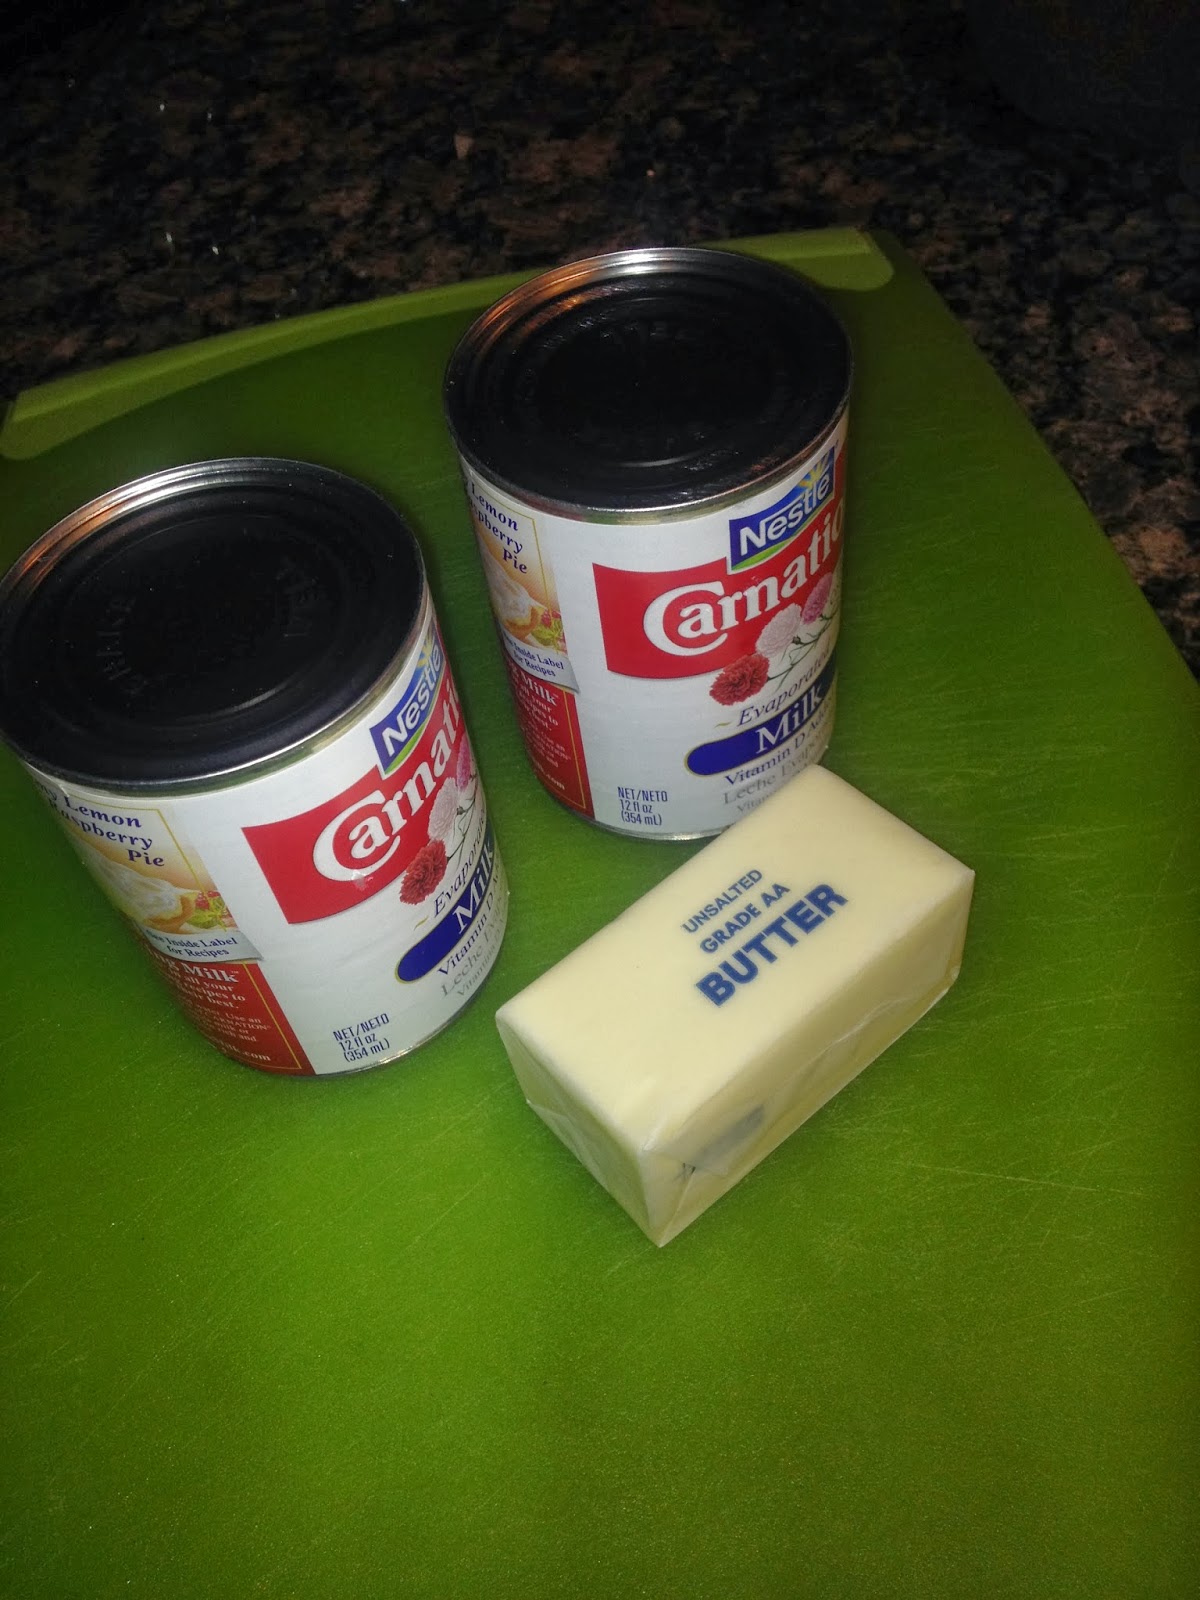
    My mother made the best potato soup.  Simple,  potatoes, canned milk, butter, and salt and pepper.  Canned milk is amazing for soups.   This recipe in fact is a souped up rendition of her classic potato soup.  I always keep canned milk in my pantry.  Potatoes and canned milk are the base of a great comfort food.


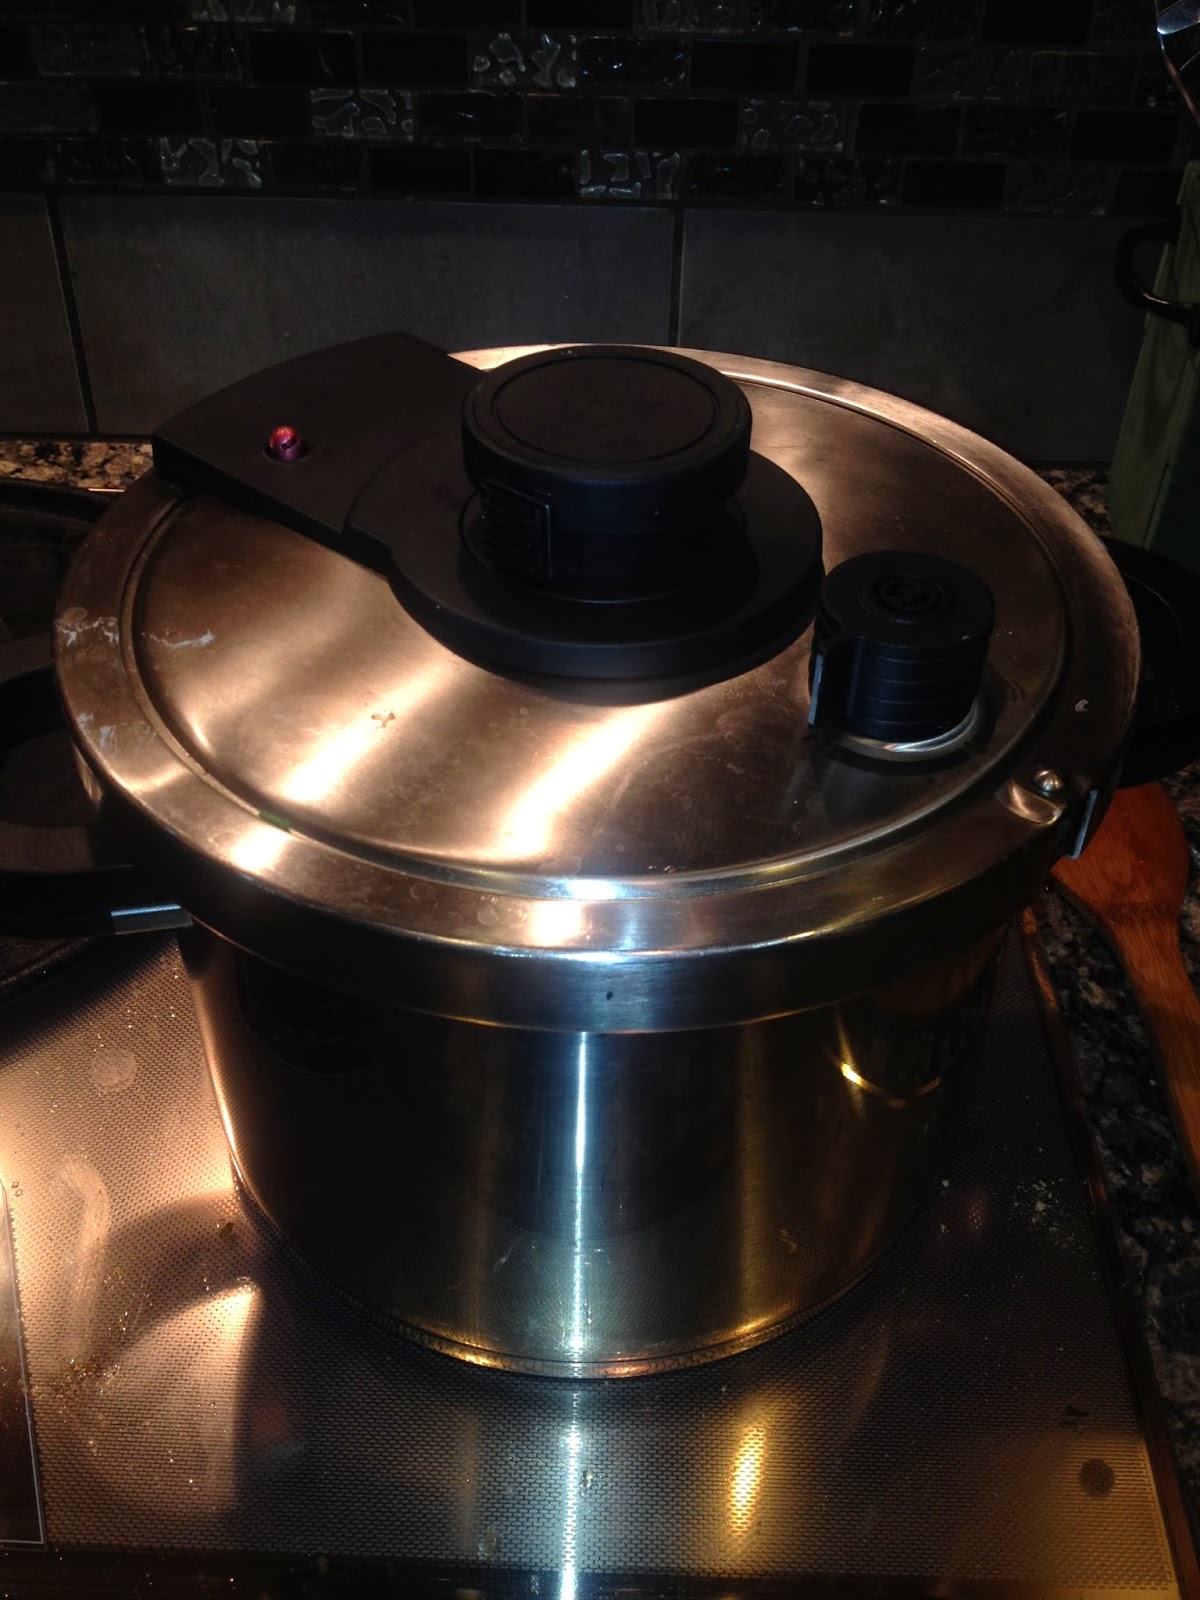
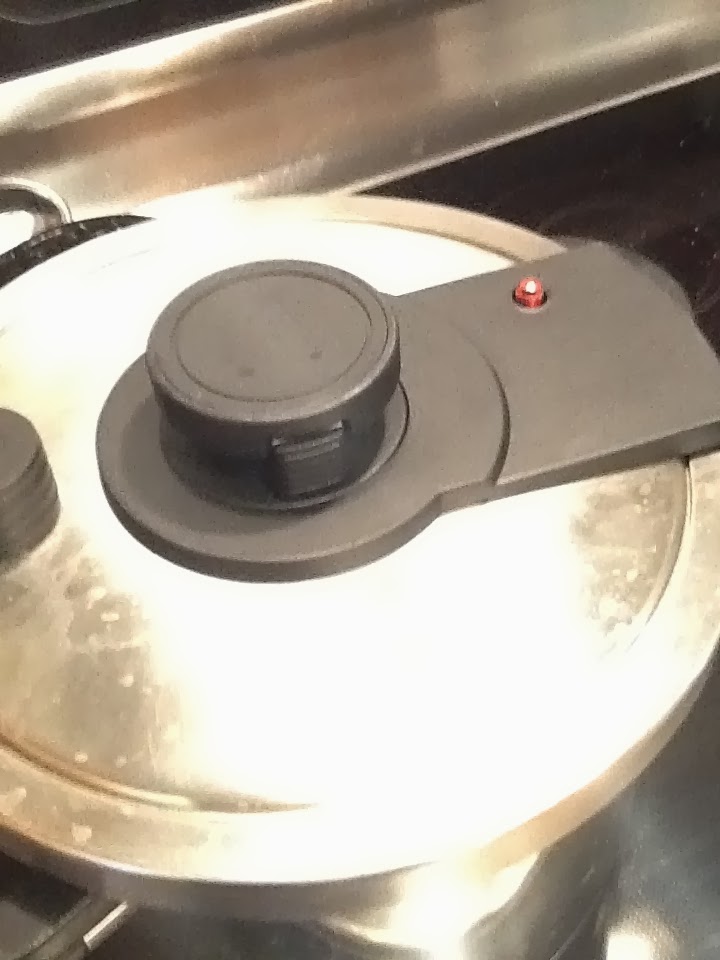
This is a stove top pressure cooker.  I use both,  the stove top or electric.  Just depends on the mood I am in.


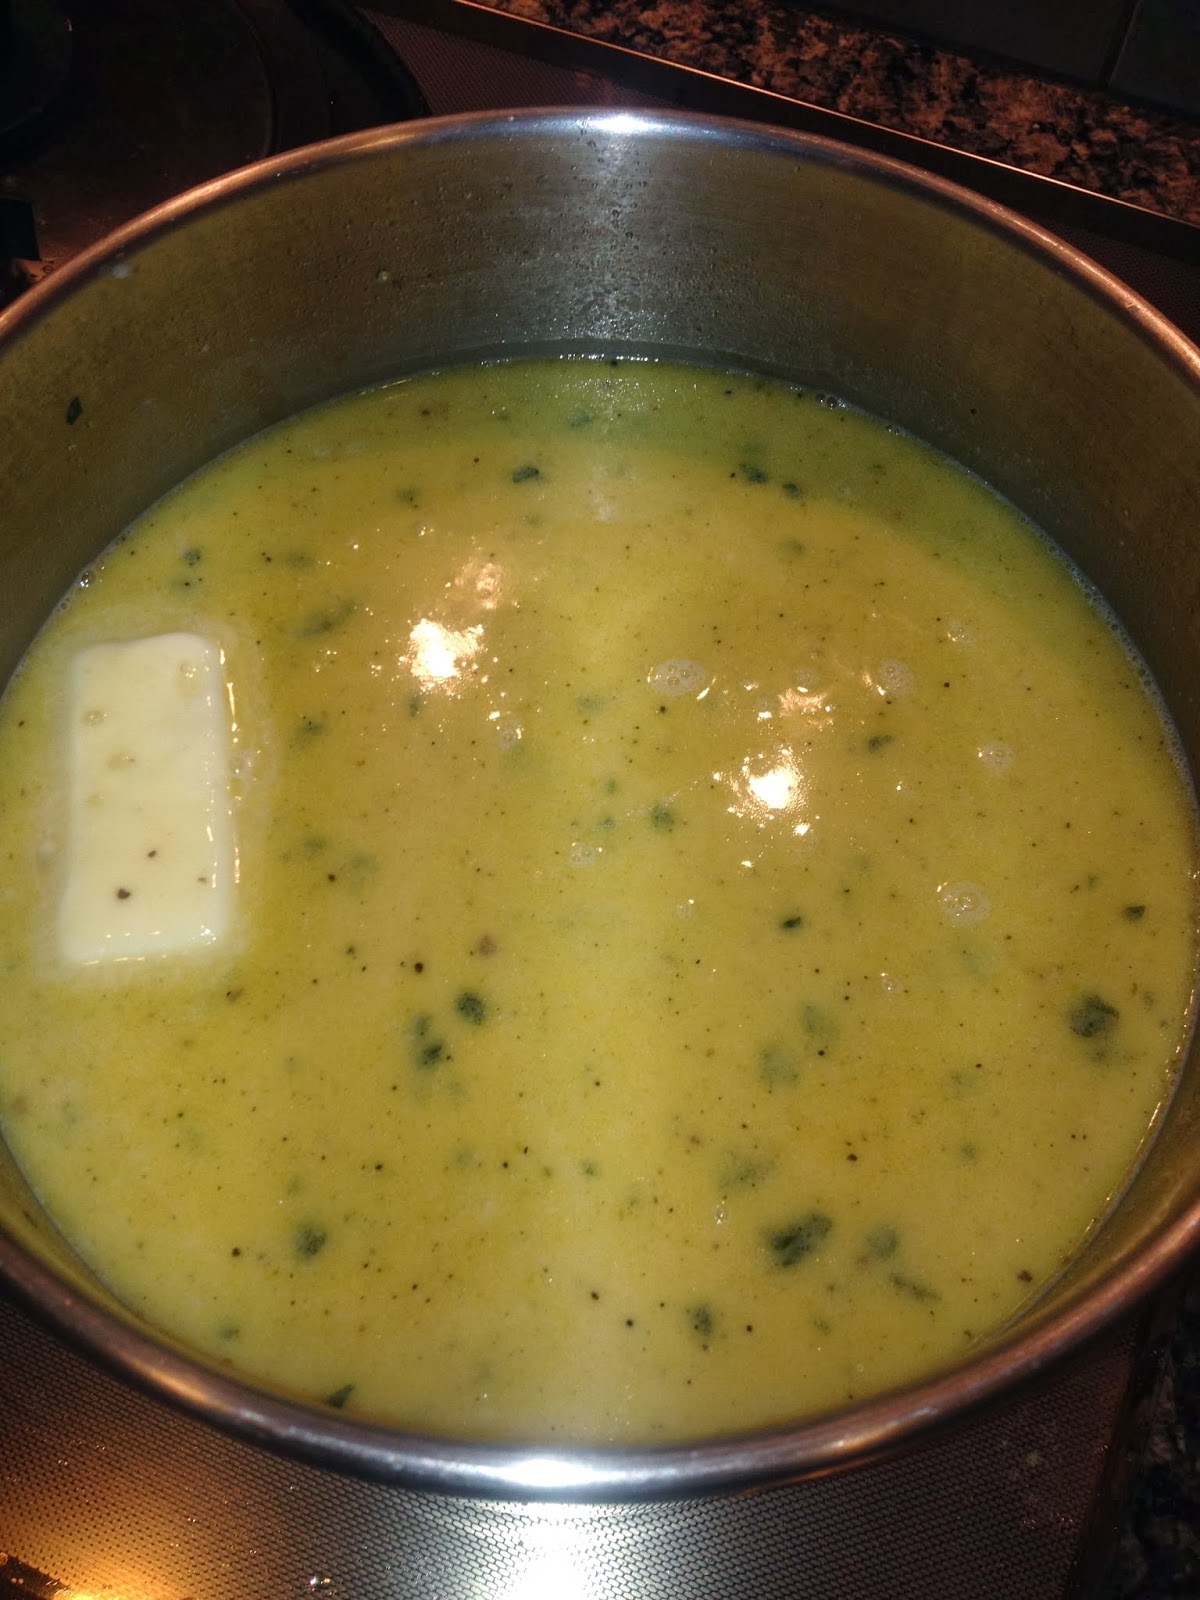
After six minutes in the pressure cooker I add the butter and canned milk.  Let it simmer and enjoy.

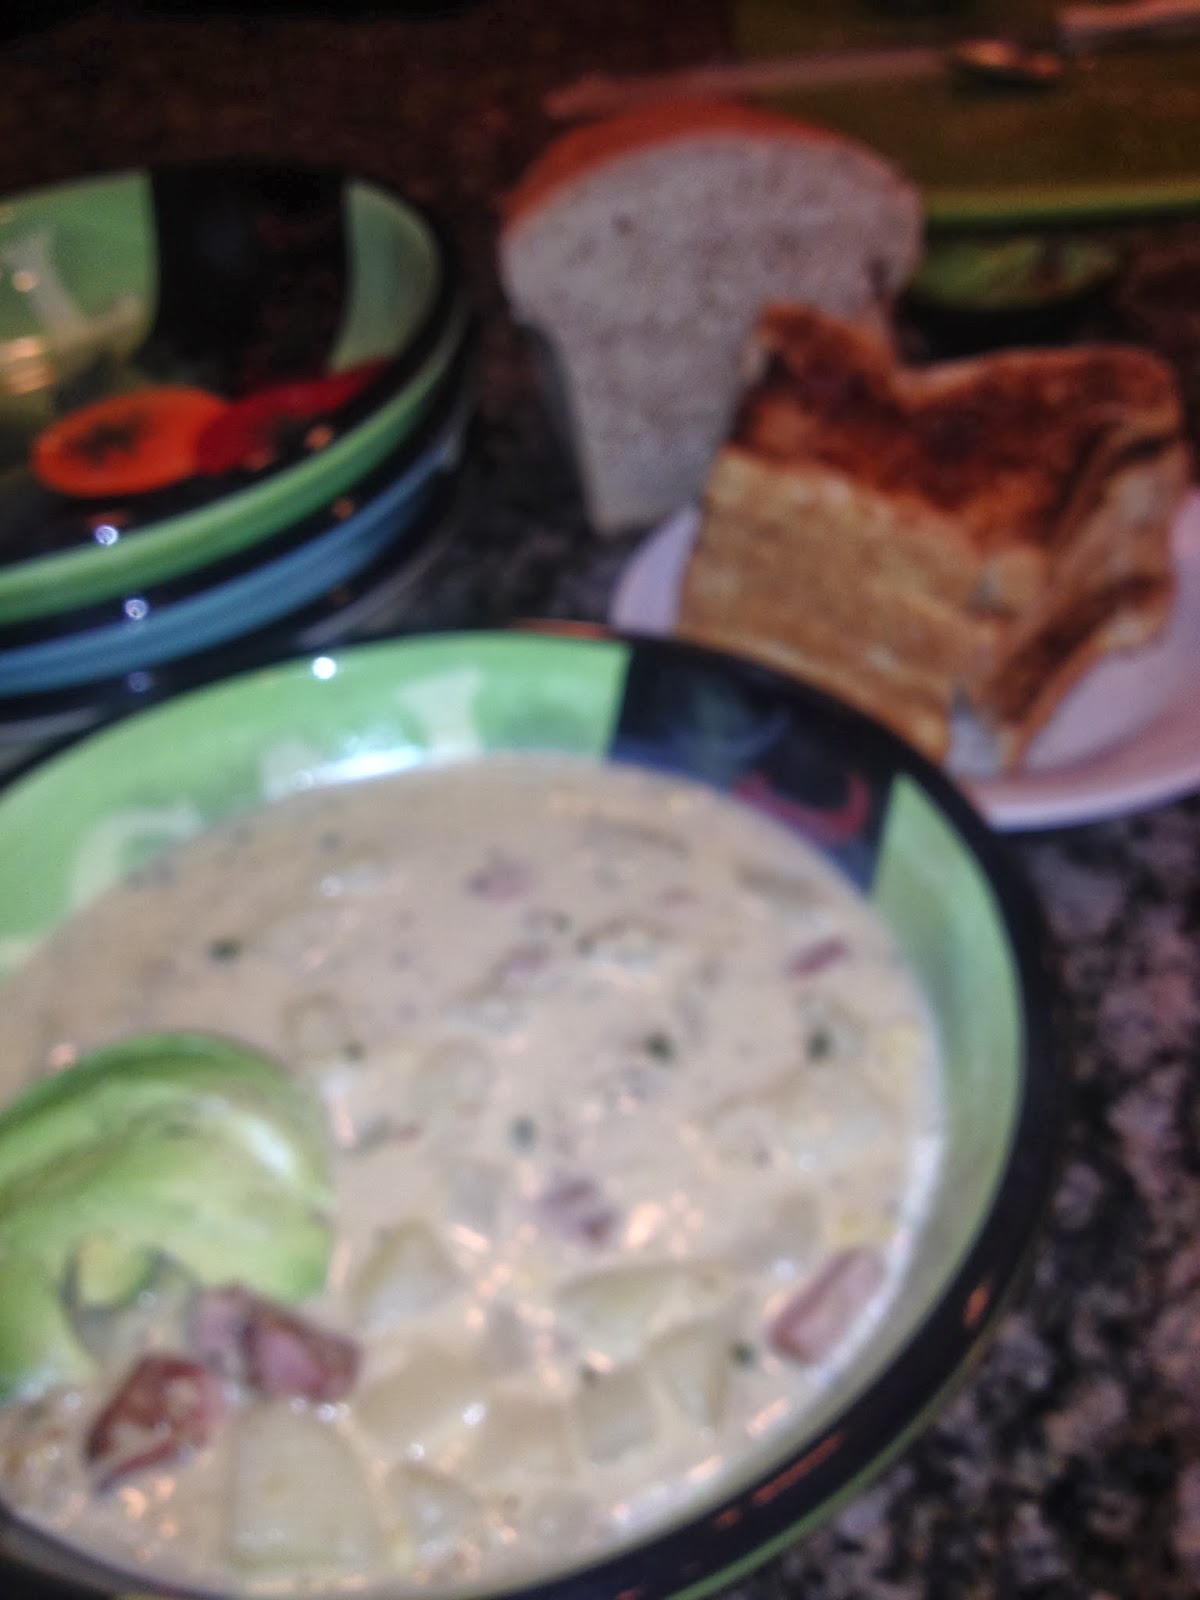
Oh so good and filling.  It does not get any better.  

Potato Quinoa Soup

3 large potaoes, peeled and chopped in 1/4 inch pieces
1 large smoked pork chop, optional,  sausage would be great
2 cups quinoa, white, red, or black
8 cups vegetable stock
2 tablespoons olive oil
1 tablespoon toasted onion powder,  I use penzeys
1 tablespoon salt
1 tablespoon pepper
1 cube or stick butter
2 cans evaporated milk
2 tablespoons chopped parsley  

In pressure cooker place oil and chopped pork chop.   Suate while peeling potatoes.   Add potatoes, quinoa, stock, onion powder, parsley, salt and pepper.   Bring to boil and place lid on pressure cooker. Cook on high for 6 minutes.  After 6 minutes, remove lid and add canned milk and butter.  Simmer for a few minutes.  If you like it thicker, you can thicken it with a rue.  

Serve with toast and garnish with sliced avocados.   

Enjoy,  Chef Brad~America's Grain Guy

Tuesday, January 21, 2014

Tomato Bisque Soup

All the ingredients together for a great soup.


 All good soups start with a nice soup pot.   My favorite is Le Creuset and this one is called a Bouillabaisse Pot.  It has a capicity of 7 1/2 quarts.  The perfect size for soup.  I also have the matching 3 1/4 quart size.  I have to say I love Le Creuset.  It is amazing for soups.  The curve allows it to heat evenly.


So first I placed a little olive oil in the bottom and sauted onions, garlic, carrots,  and celery.  The smell starts to fill the kitchen.


  Next I added chopped bell peppers and one minced small jalepeno chili, seeds and all.


    Next I added bay leaves, fresh parsley, and marjoram.  Then a large jar of peeled stewed tomatoes with liquid and 4 cups of broth.   Add Salt and pepper, juice of one half lemon and let it cook.


  Place the lid on top and let simmer until vegetables are tender.  About 15 to 20 minutes.  This also allows the flavors to blend and get stronger.


  This is what is looks like.  Kinda like a stew.  At this point I place the mixture in parts in the Blender to blend.  Remove bay leaves from mixture before blending.  Making sure the lid is on secure, remember the mixture is very hot. Be careful


    This is the mixture in the blender.  Ready to blend.  Remember to do it in parts.  If you feel the blender with hot fluid it can be dangerous.


     Next, you will strain the blended ingredeints,  and I cannot tell you how important this is to making a great soup.   You will pour the soup from the blender into a sieve.   This one is called a China Cap.    Just make sure it is fine so that it can create a fine creamy soup.   Let in drain into a pan.  Remember, it is hot.


     This is what is left.  All the chunks that would make the soup not smooth.  Discard.


   The next step is to place butter in your large cooking pot.  Let it melt and add the pureed soup to the butter.  Bring to almost a boil and


Next add heavy cream and stir.  Do not let come to boil again.  High heat will break the cream.

Whisk the cream into the soup. 

This is the finished soup.  

The Finished Product,  Creamy wonderful Tomato Bisque Soup topped with fried onions,
served with fresh baked Potato Bread 


  This actually is the finished product.  An empty bowl.   Totally cleaned with a slice of bread.  I was not going to let any drop stay in the bowl.  No need to wash this bowl.  But of cousre I will anyway.

   Soup making like all foods is best done with the right equipment and quality ingredients.  And of course patience for the end result.  I love making soup.  Enjoy the upcoming recipes.  Chef Brad~America's Grain Guy


The Recipe
Tomato Bisque 

One large onion, chopped
1 bell pepper, chopped
5 garlic cloves, chopped
2 tablespoons chopped parsley
2 teaspoons fresh chopped thyme or marjarom
1 small jalepeno pepper, chopped
1 large can of stewed tomatoes or one quart jar of fresh bottled tomatoes
2 large carrots, sliced
3 stalks of celery, chopped
3 bay leaves
1/2 lemon 
3 cups of heavy cream
1/4 cup butter
1/4 cup olive oil 
3 to 4 cups stock
Salt and Pepper 

In large pot, place olive oil and heat up.  Add chopped onion, garlic, celery, and carrots.  Saute for a couple of minutes.  Add peppers, herbs, bay leaves, tomatoes,  stock, and lemon juice.  Simmer for 15 minutes and in parts blend in blender and strain.  Add butter to pan and melt.  Add strained soup and heat up and add heavy cream.  Season to taste and enjoy.   I love to serve this with crumbled goat cheese not feta.  It sinks to the bottom, but the creamy texture and flavor are amazing in this soup.  


Wednesday, January 15, 2014

Fresh Baked Corn Bread

Fresh Baked Southern Style Corn Bread

    I love corn bread.  My second mom used to bake it in a cast iron pan, she said it was Southern Style baked that way and that is the way I love it.  Of course the real Southern style is baked with bacon drippings.  And of course I love it that way.  My mom did use bacon drippings.  

    Corn bread is great with soups and stews in the cold winter months.  I love it cold with milk or just cold topped with butter and jam.  I love to make corn bread dressing with left over corn bread, but that does not happen often.  

    The cast iron skillet is the best way to cook corn bread.  The reason is the cast iron gets really hot and with the bacon drippings or butter it developes a great crust on the outside.  So good.  

    Another great way to make the corn bread really really great is to use fresh ground popcorn kernels for the flour.  I take the popcorn and grind it in my electric grinder and that is what I use for the corn flour.  I have found that for the white flour I will use amaranth or fresh ground barley flour.  It really makes the corn bread really wonderful and healthy.  

    The popcorn flour adds a really great texture to the bread and it really adds to the flavor.  It is deeper and did you know that popcorn flour is 25% less starchy compared next to regular corn flour.  Corn bread bakes quickly and is easy to make.  

    Recently, as I do once in a while,  I let my guard down and bought a bag Marie's Galendar's corn bread mix.  It was terrible.  My family would not even eat it.  It really is not even corn bread.  It's like a cake mix with some corn flour, and have you read the ingredients on the package.  Amazing that we eat products like that.  

    I have found that most packaged products we can make better and cheaper with natural ingredients and in less or the same amount of time.  So throw out the packaged stuff and get out your grinder.  If you don't have a grinder, go to www.chefbrad.com and order one.   


OLD FASHION CORNBREAD
Old fashioned cornbread baked in a cast iron skillett is the best, especially when you add bacon drippings.  

2 cup popcorn fresh ground
2 1/3 cup milk
2 cups Chef Brad’s Wonder flour or 2 cups fresh ground amaranth flour
¾ cup sugar or ½ cup Xagave
2 eggs
1 teaspoon salt
½  cup canola oil
2 tablespoons baking powder, Rumfords
2 tablepsoons butter or bacon drippings for baking.


Mix all ingredients in Bosch mixing bowl for 2 minutes. Preheat oven to 400 degrees.  Place cast iron skillet in oven with 2 tablespoons bacon drippings or butter.  When skillet is very hot pour in batter.  Place back in oven and bake for about 15 to 20 minutes or until done.  Done is when a knife comes out clean when inserted into the center of the bread.  


Enjoy the Recipe.  Chef Brad~America's Grain Guy


Friday, January 10, 2014

Carob Powder, I Did It.....


       I have a huge Carob tree in my yard,  I love the tree and for years I have dumped hundreds of pounds of carob in the green barrel not know what to do with it.  The tree really produces a lot of carob pods. This season I collect about 50 lbs. thinking I would do something with it.  I finally got around to working with my large supply of carob pods.   If you don't know what carob is, I will tell you.  It is a chocolate substitute.  I have friends and family members that cannot eat chocolate and use carob instead.  Actually my wife for years has made no bake cookies with carob powder.  It can be great if it done well and sweetened up enough.  So here is my adventure in Making Carob Powder.


My Carob Tree,  it's huge.  

This is what carob pod looks like before it falls to the ground for me to clean up.


There are the carob pods.  About 3 inches long and flat.  Filled with seeds.  So the first thing I did was rinse them off with hot water.   I started with a couple of pounds.


Next I placed them in a pressure cooker and covered them with water.   Cooked in a pressure cooker for 12 minutes on high. Let the pressure come down naturally.  Meaning that just them cool down in the cooker.


12 minutes on high in a pressure cooker.


Notice how dark they are and the dark water.  The pressure cooker loosens them up so you can get the seeds out.  WIth out that they are impossible to get out.  Hard as a rock and filled with seeds.  It is the pod that turns to carob, not the seed.


Pods and seeds.  The pods are really sticky,  I use latex gloves.

The Seeds

The Pods


After much trial and error, I found the best way was to have a sharp small knife to cut them open with.  After I cut them open I scraped the seeds from the inside and placed them on a parchment lined cookie sheet.


 These are the pods after they have been baked in the oven.  The oven dries them out and toasts them.  They are really good dry and toasted.  Amazing what 20 minutes does for them in the oven.  This step is important.


The seeds,  they are used for other things,
That is another blog.    


After the seeds are cooled and dried out I placed them in a blender.  It needs to be a high powered blender.  I used my Vita Mix.    Just add the dried out pods and let the blender do it's magic.


The blender makes a really fine powder out of the baked toasted seeded carob pods.  You can see the fine powder.  Once it is blended I sifted the powder to get out any bigger pieces that did not blend.  Not much was left that the Vita Mix did not pulverize.  


The finished product.  The most wonderful toasted carob powder I have had.  I made some chocolate bars and coco.  Great stuff.  I enjoyed the experience.  Good thing because I have about 50 lbs. left to do.


I love doing new things.  This was something I have wanted to do for years.  It was inspiring and very  educational to say the least.  I love doing things that are educational and in the process I can help others.  Food is an adventure to say the least.  Chef Brad~America's Grain Guy